In the world of web hosting, going public means opening your doors to the global internet. While this is essential for growth, it also exposes your website to potential threats like DOS and DDOS attacks. These issues are common occurrences once your site is live. You might also encounter malicious actors attempting to crawl all your data or flood your contact forms with spam.
fivecoupon.com have personally experienced websites being targeted by continuous spam and fake traffic, even when no provocation was given. These tactics are often designed to crash your server or, at the very least, damage your website’s reputation on search engines. To help you regain control, this article provides a step-by-step guide on how to block a single IP address or an entire range of IP addresses on an Nginx Web Server.
Why Proactive IP Blocking is Essential for Your Server
Security is not just about reacting to a crash; it is about preventing it. Malicious traffic consumes bandwidth, drains CPU resources, and can lead to your site being blacklisted by search engines. By mastering Nginx’s access control, you protect your “Topical Authority” and ensure a smooth experience for legitimate users.
How to Block IP Addresses on Nginx (The Essentials)
Nginx makes it straightforward to manage access through its configuration files.
Blocking a Single IP Address
To block a specific IP address, you need to modify your Virtual Host files. On a Linux-based Nginx server, these files are typically located in the /etc/nginx/sites-available/ directory.
Insert the deny directive within the location block as shown below:
location / {
    ...
    deny 192.168.1.10;
    ...
}
This specific line will block the visitor with the IP address 192.168.1.10 from accessing your site. After making this change, you must reload Nginx for the settings to take effect:
sudo systemctl reload nginx
Blocking an Entire IP Range (Subnet)
If you notice an entire network segment is attacking you, blocking individual IPs is inefficient. Instead, you can block a whole range:
deny 192.168.1.0/24;
Using this syntax will block every IP address within the 192.168.1.x range.
The Whitelist Approach: Blocking Everyone Except One IP
In some scenarios, such as a staging environment or an admin panel, you might want to block all traffic except for your own trusted IP:
# Allow access for a specific trusted IP
allow 192.168.1.10;

# Drop access for the rest of the world
deny all; [cite: 9]
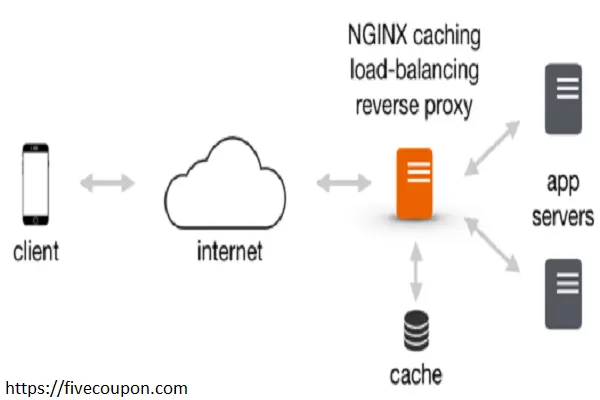
Advanced Strategy: Nginx Behind a Proxy or Cloudflare
If your website uses a CDN like Cloudflare or a Load Balancer, the methods above might inadvertently block the proxy server instead of the actual attacker.
Professional Tip: Ensure you have the ngx_http_realip_module enabled. You must use the real_ip_header X-Forwarded-For; directive to tell Nginx to look at the original user’s IP rather than the proxy’s IP. This prevents accidental self-inflicted downtime.
Customizing the 403 Forbidden Error Page
When a user is blocked, Nginx displays a standard 403 Forbidden error page. To provide a better user experience—or perhaps a polite warning—you can create a custom 403.html file.
To implement this, place your custom HTML file in your web directory and update your Virtual Host file:
server {
   ...
   error_page 403 /403.html;
   ...
}
This directive ensures that whenever a blocked IP attempts to visit, they see your branded or customized error message instead of a generic system page.
Frequently Asked Questions (FAQs)
Does blocking IPs impact SEO?
- Blocking malicious bots and spam actually improves your SEO by ensuring that search engine crawlers (like Googlebot) have plenty of server resources to index your site efficiently.
Where should I place the deny rules?
- You can place them in the http, server, or location blocks. Rules in the http block apply to all sites on the server, while those in the location block are the most specific.
How do I find which IPs to block?
- Check your Nginx access logs frequently. Look for patterns such as a single IP hitting your login page or contact form hundreds of times per minute.
Conclusion: Take Command of Your Server Security
Securing your Nginx server is a continuous process. By utilizing the deny and allow directives, you can effectively mitigate the impact of DOS attacks and data scrapers. Remember to always test your configuration with nginx -t before reloading to avoid syntax errors.
Are you struggling with persistent attacks or high server loads? Don’t let malicious traffic undermine your hard work. Contact our technical team today for a comprehensive server security audit and automated firewall configuration!
Would you like me to provide a script that automatically parses your logs and suggests which IPs to block?